
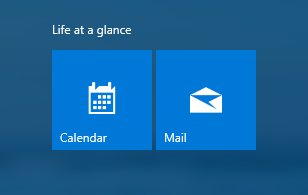
Windows 10 has built-in Mail and Calendar apps. To open them, search for Mail or Calendar on the taskbar, and select the icons from the search results.
Introduce yourself to Mail and Calendar
You've found the apps, now make them useful by adding your accounts. If this is the first time you're opening either Mail or Calendar, follow the instructions on the Welcome page. Otherwise, do the following:
-
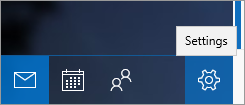
In the Mail or Calendar app, select Settings at the lower left.
-
Select Manage accounts > Add account, then choose an account, and follow the instructions.
Your mail and calendar will automatically start syncing. To add more accounts, return to Settings .
A few more handy things:
-
No need to add the same account twice—when you add it to one app, the other app automatically connects to the same account.
-
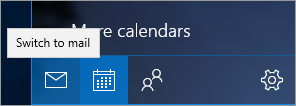
Switch between Mail and Calendar by selecting Switch to mail or Switch to calendar on the lower-left side of the window.
-
To see the contacts associated with your accounts, select Switch to People to open the People app.
-
Delete an account at any time by going to Settings > Manage accounts. Choose the account you want to delete, and then select Delete account. If you've signed in to your PC with a Microsoft account, that account is added automatically to the Mail and Calendar apps and can't be deleted. But you can remove any others you added yourself.
-
For more info about how to use the apps, including troubleshooting help, select Settings > Help.


