
Windows help & learning
Make the everyday easier with Windows 11
When there's a lot to do, Windows 11 helps you get it done.
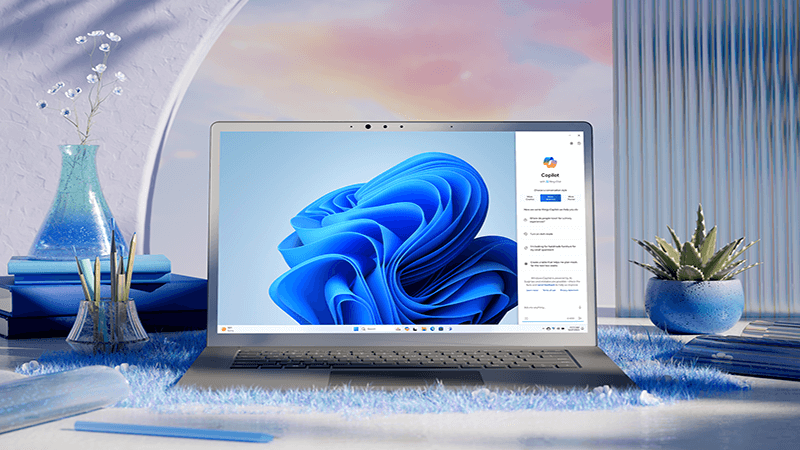
Achieve more with AI in Windows
Windows is the first PC platform to provide centralized AI assistance. Learn how to achieve and create more with Copilot in Windows.
Explore Windows
Prepare for Windows 11
Find answers to top questions about the Windows 11 upgrade.
Meet Widgets
Stay up to date with your favorite info.
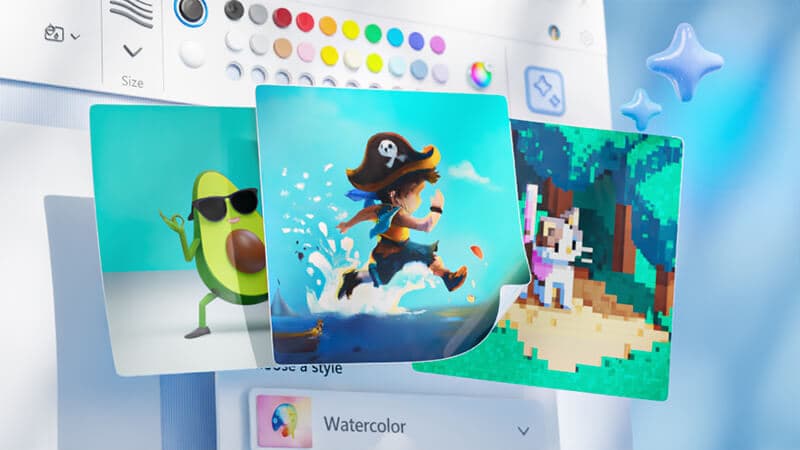
Meet Windows 11
Learn how to use the new features of Windows 11.
Explore the taskbar
Find your way around Windows 11.

Stay current
Find out how to use Windows Update to keep your PC up to date, on your terms.
Make room
Learn how to free up drive space on your PC.
Improve performance
We have some suggestions to help make your Windows 10 PC run better.

Be safe
Windows Security provides the latest antivirus protection for your PC, and we’ll show you how to use it.

Windows 8.1 end of support
Thank you for your loyalty. We want to help you prepare and recommend you move to a Windows 11 PC to stay supported and secure.

Get the best display on your monitor
Windows looks at your monitor and determines the best display settings.

Find PC settings
Install devices, personalize your PC, and choose how Windows is configured in Settings.

Make your PC easier to use
Change accessibility settings to make your PC look, sound, and react the way you prefer.
Trending topics
Installation & activation
Windows Update
If you're a small business owner
Find the information you need to build, run, and grow your small business with Microsoft 365.